The template, before anything else
- The block below is a complete README: title, one-line description, badges, Installation, Usage, Configuration, Contributing and License.
- Paste it into the editor to see it rendered while you fill in the blanks.
- Save the finished file as
README.mdin the top folder of your repository, and GitHub shows it on the project page by itself. - Small projects need four sections, not nine. A short version is further down this page.
# Project Name
One sentence that says what this does and who it is for.
<!-- badges: build, version, license -->


## Installation
```bash
npm install project-name
```
## Usage
```js
import { run } from 'project-name';
run({ input: 'data.csv', verbose: true });
```
Output:
```
Parsed 1,204 rows in 1.2s
```
## Configuration
| Option | Type | Default | What it does |
| :-------- | :------ | :-------- | :-------------------------------- |
| `input` | string | none | Path to the file to read |
| `verbose` | boolean | `false` | Prints each step as it runs |
| `output` | string | `./dist` | Folder the results are written to |
## Contributing
Pull requests are welcome. For anything large, open an issue first so we
can agree on the shape of it. Run `npm test` before you push.
## License
MIT. See [LICENSE](LICENSE).
The five things to change first
- The title and the sentence under it. These two lines do most of the work. Everything else is detail.
- The install command. Replace
npm installwith whatever is true:pip install,go get,git clone, or a download link. - The usage example. Copy a line you have actually run, not pseudo-code.
- The config table. Delete the rows that do not exist. An empty table is worse than no table.
- The badges. Point them at your repository, or delete the two lines. Fake badges get noticed.
Fill it in with the preview open
Writing a README blind, then pushing it to find out whether the table lined up, is a slow loop. Paste the block into the editor on the homepage instead. The rendered version sits beside the source, so a broken table row shows up while you are still typing.
Tip: Fill in the blanks in the order above and stop when you run out of true things to say. A short honest README beats a long template with TODO in four places.
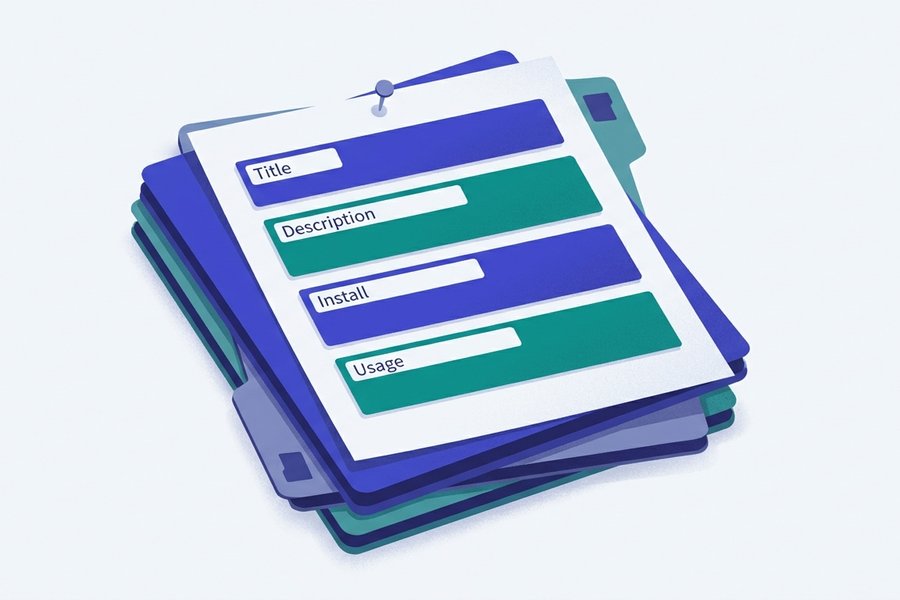
What each part is for
Every section answers one question a visitor has. Here is the question, and the mistake that stops it being answered.
Title and one-line description
The question is what is this. Name what it does and who it is for: "A command-line tool that turns CSV exports into readable Markdown reports."
The common mistake is describing how it was built instead of what it does. Nobody arrives wanting to know your framework.
Badges
The question is is this alive. A green build badge and a recent version number answer it in half a second, which is why they sit at the top.
The common mistake is a wall of nine badges. Past four they stop being signals, and start pushing your description below the fold.
Installation
The question is how do I get it. One fenced command, copyable, with no prose in front of it. Name any prerequisites in a single line above the block.
The common mistake is burying the command in a paragraph. People scan for the grey box, not for the verb.
Usage
The question is what does it look like to use. Show the smallest example that does something real, then the output it produces.
The common mistake is listing every option and no example. Someone who sees one working snippet will find the options later. Someone who sees only options leaves.
Configuration
The question is can I change it. A table of option, type, default and effect is fastest, because readers scan the first column for the name they half remember.
The common mistake is documenting defaults that are out of date. If you fix one thing when you ship a change, fix this table.
Contributing and License
Contributing answers can I help. Two lines are enough: whether pull requests are welcome, and what to do before opening a big one. Longer rules belong in a separate CONTRIBUTING.md.
License answers can I use this at work. Name the license and link the file. Leaving it out is not neutral, because with no license the legal default is that nobody may use your code.
A minimal README for a small project
Most repositories do not need nine sections. A script, a config dotfile repo, or a weekend project is better served by something you will actually keep current:
# csv2md

Turns a CSV file into a Markdown table. No dependencies.

## Install

```bash
pip install csv2md
```

## Use

```bash
csv2md data.csv > report.md
```

## License

MIT
When the long template is overkill
- The project has no options. A Configuration table with one row is noise. Say the one thing in a sentence.
- You are the only user. Contributing sections on private repositories go stale and never get read.
- It is a demo, a fork or a course exercise. Title, one sentence, and how to run it. That is the whole job.
- The real documentation lives elsewhere. Then the README is a signpost. Describe the project and link the docs site.
Watch out: Do not ship the template with its placeholder text still in it. A README that says "Project Name" tells every visitor the project was abandoned on day one.
What makes a README get read
Readers give a README a few seconds before deciding. These habits survive that first scan.
- Lead with what it does, not how it was built. "Converts CSV to Markdown tables" earns attention. "Built with Rust and Tokio" belongs later in the file.
- Put the install command in the first screenful. If someone has to scroll past a philosophy section to find
pip install, many will not. - Show output, not just commands. A command says what to type. The output says what you get, which is the part people are trying to picture.
- Keep badges under four. Build, version, license, maybe coverage. The fifth badge dilutes the first four.
- Write for someone who has never seen the project. Your future self counts. Six months is enough to forget the argument order.
- Use a screenshot for anything visual. One image of the interface saves three paragraphs describing it.
- Update it in the same commit as the change. A wrong README is worse than a thin one, because wrong instructions cost the reader real time.
The test to run on your own file
Read only the first screen, as a stranger would, and answer three questions: what is this, how do I install it, what does using it look like. If an answer is missing, move it up. Everything else is optional by comparison.
Formatting the README well
A README is a Markdown file, so every problem in it is a Markdown problem. Each part of the template leans on one construct.
Structure and code
The title is a single # and every section is ##, which the headings guide explains along with why skipping a level breaks the outline GitHub builds from it. Install and usage commands belong in fenced blocks with a language tag, so bash and js get syntax colour; the code blocks guide covers fences and tags.
Lists, tables and pictures
Feature bullets are ordinary unordered lists, and the lists guide is worth a minute for the nesting rules, the usual cause of a flattened sub-list. Configuration options render best as a pipe table, and the tables guide explains the alignment colons used above.
Screenshots and badges share one image syntax, covered in the images guide; if you only need the single line, how to add an image in Markdown is the short answer. Badges are images wrapped in links, which is also how you point at your docs site.
The dialect, and long files
GitHub renders GitHub Flavored Markdown, so task lists, strikethrough, autolinks and tables all work. That is the dialect to write for. Once a README passes roughly a thousand words, build a contents list with the table of contents generator instead of maintaining anchors by hand.
If any of this syntax is new, the syntax reference is the fast index and the complete Markdown guide walks through it in order.
Where the file goes and how to check it
The filename and its location are what make the rendering automatic.
- Name it
README.md. Capitals for the name, lowercase.mdfor the extension. GitHub acceptsreadme.mdtoo, but the shouty version is the convention and sorts to the top of a folder listing. - Put it in the repository root. That is where hosts look first. A copy in
docs/or.github/is also picked up, but the root one wins. - One per folder is allowed. A README in a subfolder renders when someone browses that folder, which is a cheap way to explain a directory of examples.
Check it before you push
Preview the text in the editor while you write, and open the finished file in the Markdown viewer if a teammate sends you one to review.
After pushing, look at the rendered page once. Relative image paths are the usual casualty: a screenshot that loads from your disk can still 404 on the project page, because the path resolves against the repository, not your folder.
Frequently Asked Questions
What should a README include?
At minimum: what the project does in one sentence, how to install it, and one usage example. Add Configuration, Contributing and License when the project has real users. The template at the top of this page has all six in the order readers expect.
How long should a README be?
Long enough to answer what it is, how to install it and how to use it, and no longer. That is often under 200 words for a small tool. Once you pass roughly a thousand words, move the detail into a docs/ folder and keep the README as the front door.
Does the file have to be called README.md?
For automatic rendering on GitHub, GitLab and most hosts, yes. README.md in the repository root is the reliable choice. Plain README with no extension still displays, but as unformatted text, so you lose headings, tables and code blocks.
Do I need badges in my README?
No. They are useful shorthand for build status, version and license on a public project, and they are clutter on a private one. Keep the count under four, and delete any badge you would not want a stranger to click.
How do I add a screenshot to a README?
Commit the image into the repository, usually in a docs/img/ folder, then reference it with a relative path: . The images guide covers hosting choices and why absolute paths from your own disk never work.
Keep learning
Try the Editor
Try the Editor